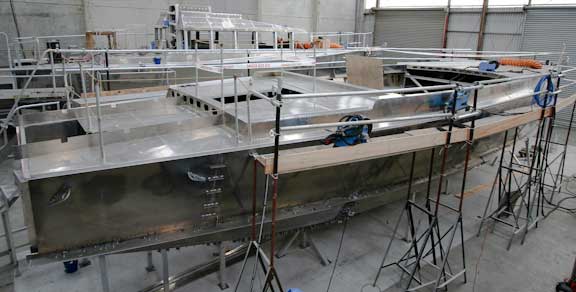
Early March, and the New Zealand summer is waning. Metalwork on the first FPB 64 is almost complete, and #2 is well along. We have lots of details to show you with this report, so grab a refreshment, and settle in for the tour.
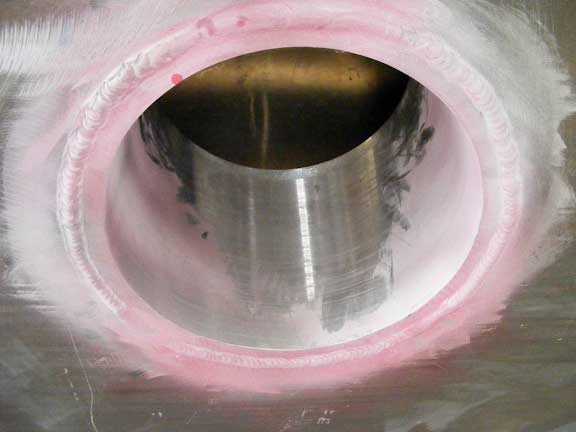
We will start with a test. Can you tell us what this is? We are looking at one of the stabilizer inserts. The pink coating is a penetrating die, testing for weld porosity.
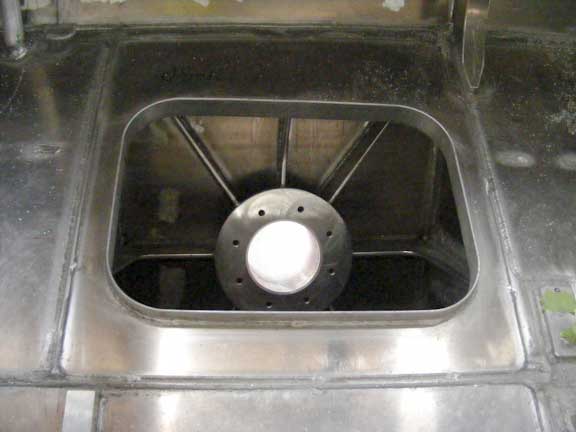
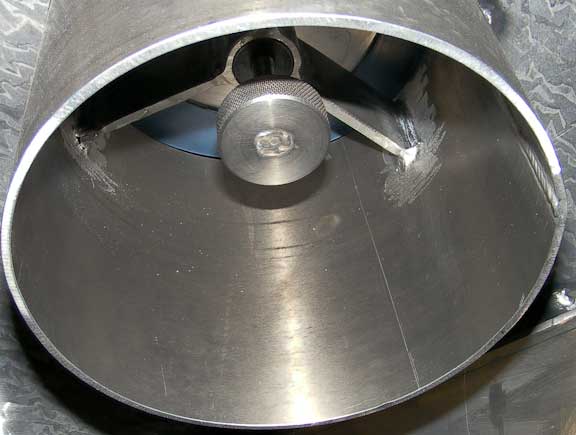
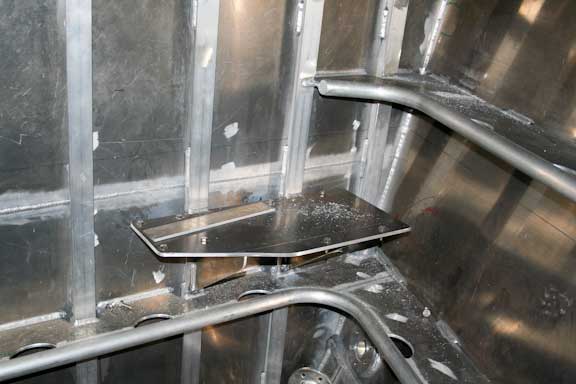
Looking at the other side, inside the coffer dam which house the stabilizer mechanisms, that is the flange onto which the stabilizer mechanism bolts.
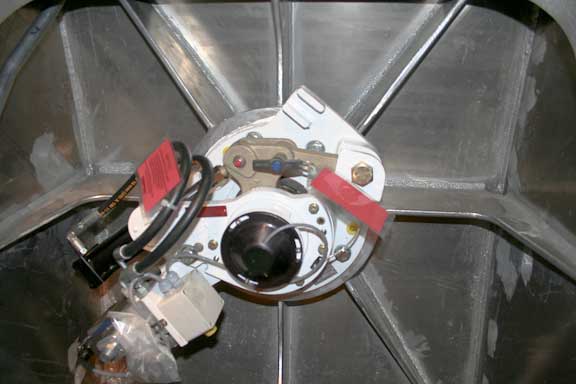
And the mechanism in place.
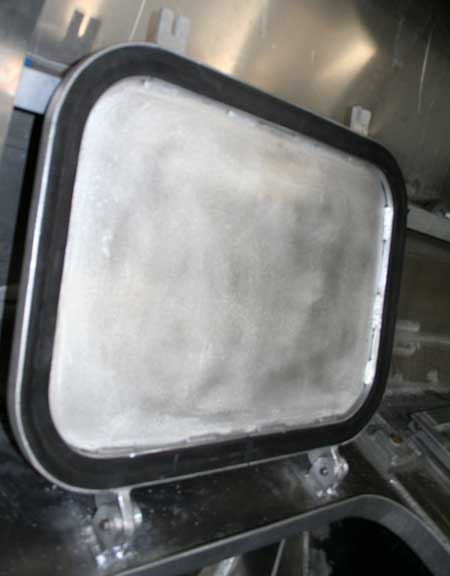
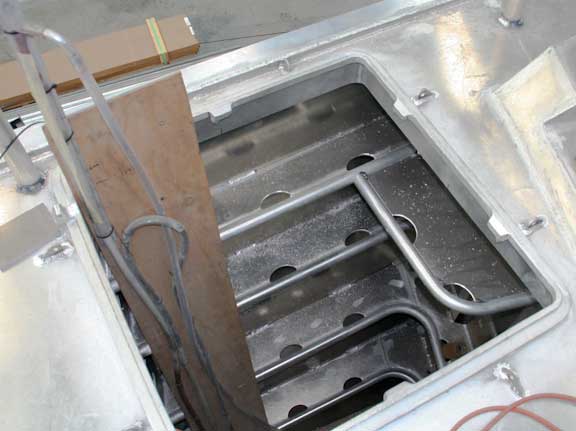
The stabilizer mechanism lives in a sealed, watertight compartment, of which this is the lid. In the unlikely event of a leak, the water is contained (and there is a bilge pump plumbed into each stabilizer compartment just in case).
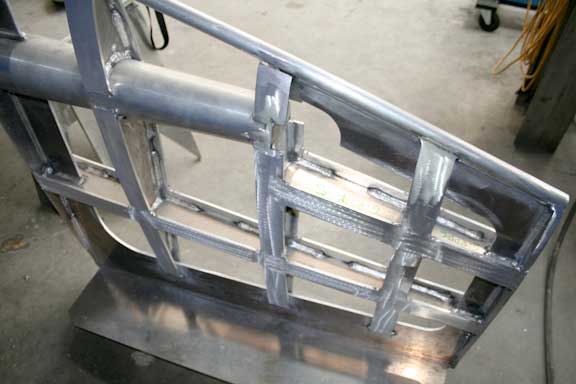
Since we are on the subject of foils, here is the internal rudder structure, prior to being plated. There is an aluminum casting which fits onto the end to create a properly shaped wing tip.
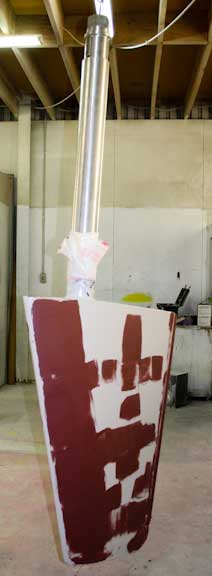
The rudder and prop skeg are the only underwater areas where we use fairing compound.
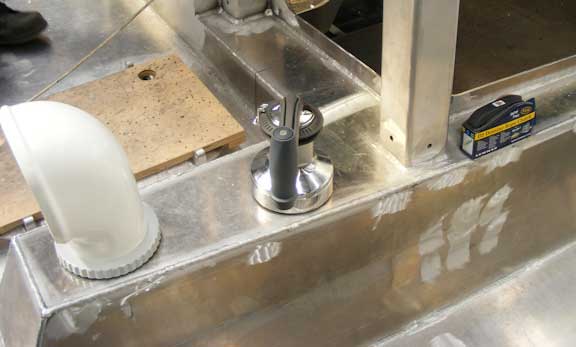
Layout of the aft coaming Dorade vent, snubbing winch (for adjusting dock lines) and the starboard boom foreguy rope clutch.
The Dorade closure detail. You turn the knob to adjust air flow or seal the vent completely in heavy weather.
And now for some cool detailing. The Electrodyne alternators are the most efficient you can buy. Still, when they are cranking out 150+ amps at 27+ volts they use a lot of power – 10 HP each.
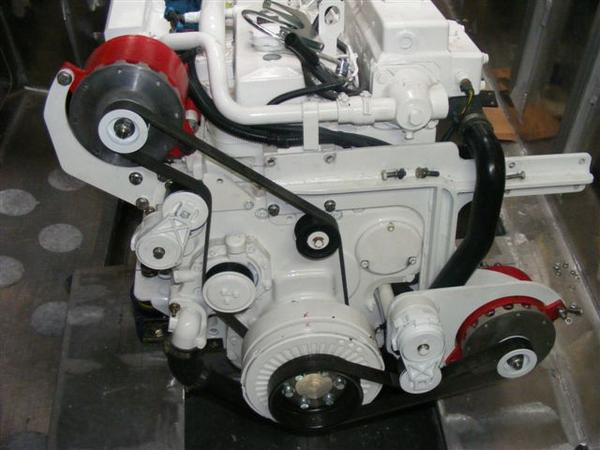
Getting belts to last with these loads is not easy. But the poly-V belt drives at which you are looking will do the job. They are kept tight with spring tensioners. If you need to change a belt or check bearing wear, simply lever the tensioner out of the way (using a socket wrench) and pull the belt. We have had excellent results on the FPB 83 with this approach, getting 2000 hours now between belt replacements. Note the size of the drive pulley and alternator pulley. The latter is sized to provide sufficient area so belt slippage is minimized.
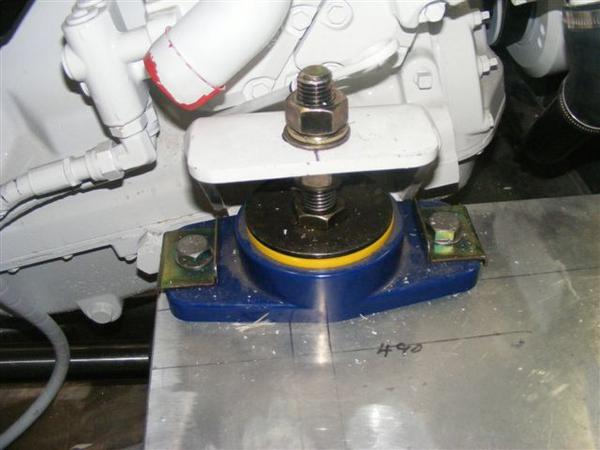
An engine mount which minimizes vibration transmitted to hull structure. Note the stiffened washers under the bolts.
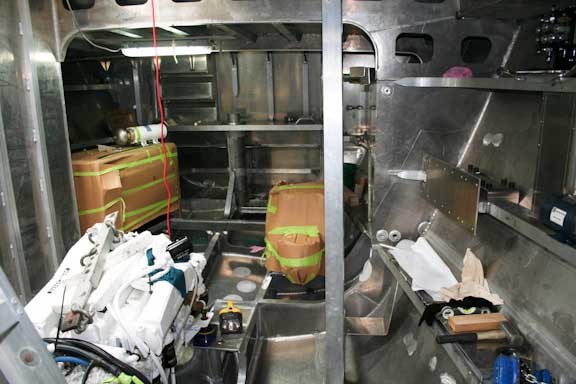
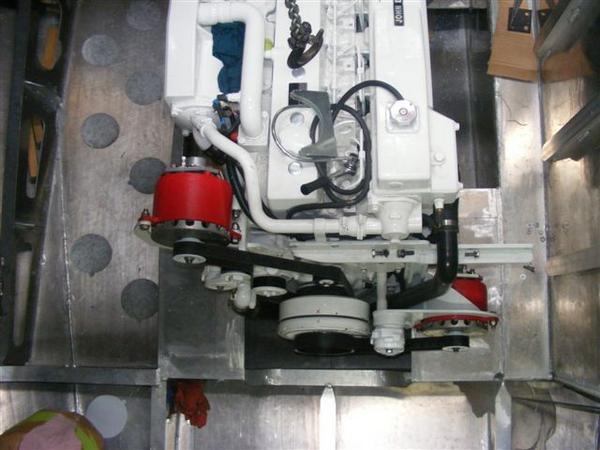
The hardest area to photograph is the engine room, but this will give you a feel for the space. The genset is under cardboard aft and to the left. The covered device center aft is the Kabola diesel boiler. The bracket on the middle topside stiffener (right of photo) is where the fuel filters will be mounted.
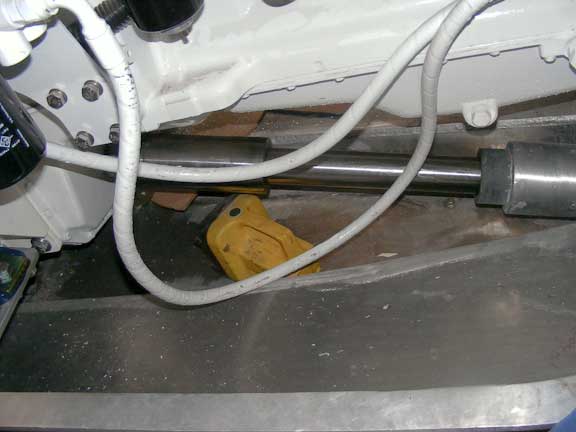
A last engine room shot, this one looking under the engine at the prop shaft. The yellow flashlight is a big one, about five inches (125mm) square on the face by seven inches (175mm) long. As you can see, we have good clearance for inspection, cleaning, and adjusting bolts and clamps as required.
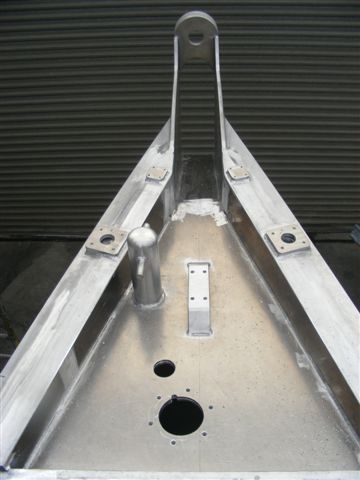
Back on deck, looking here at the anchor well deck. The Sampson post is now finished. The raised platform on center is for the chain stopper. Those pads on the rub rail (belting in Kiwi-speak) are for the forward mast and pulpit arrangement.
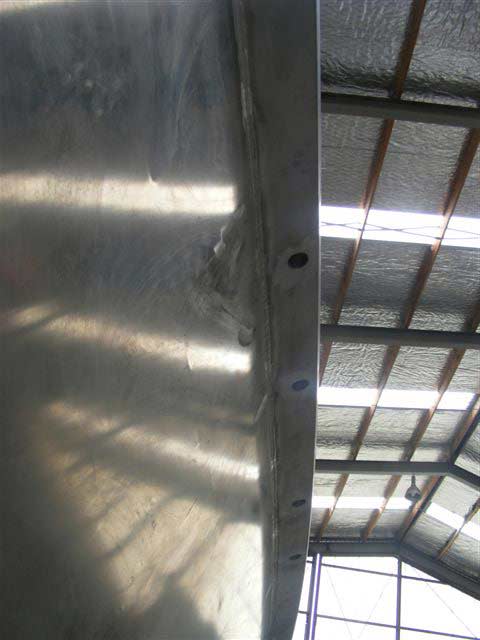
Here is a shot from below the rub rail, looking up. The holes are for life line stanchions and gates.

The sockets are welded through the top and bottom of the rub rail and are enormously strong.
A look here into the forepeak. The longitudinal topside stiffeners are used as steps as well as for storage. The board on the left is a “manometer” part of the system used to check tank integrity (in this case the forward water tank).
A major advantage of building in aluminum is the ease of welding in brackets, in this case a pump base in the forepeak.
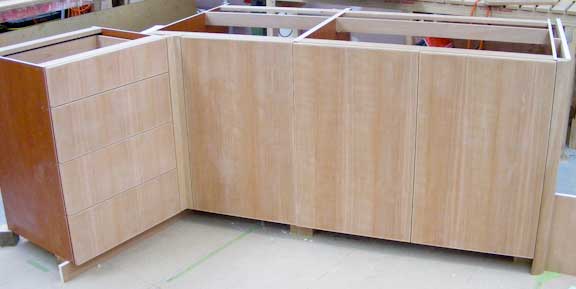
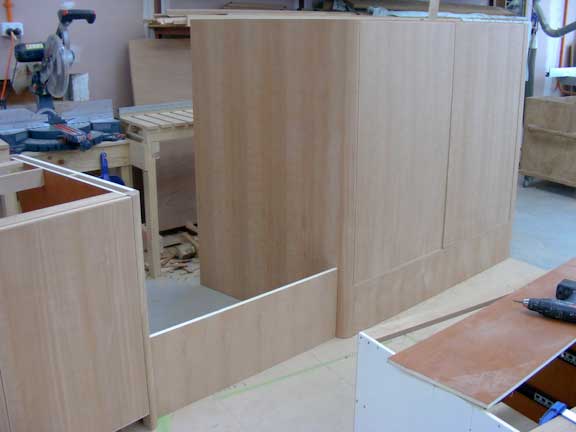
The “chippies” are hard at work on the interior cabinets. This is part of the vanity for the Owner’s suite forward.
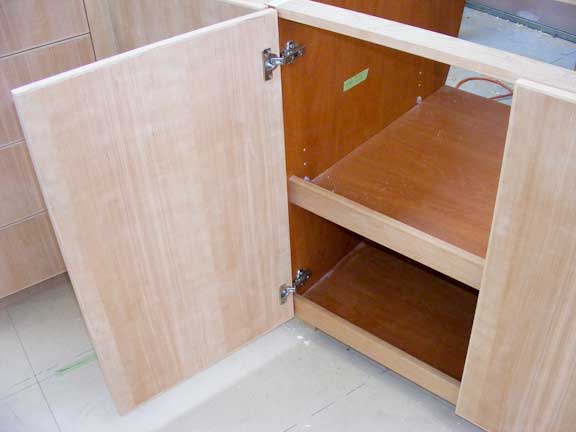
Looking inside one of the vanity lockers.
Finally, the hanging locker which goes in the aft starboard corner of the cabin.
If you have questions contact Sue Grant: Sue.Grant@Berthon.Co.UK. .
Posted by Steve Dashew (February 7, 2009)