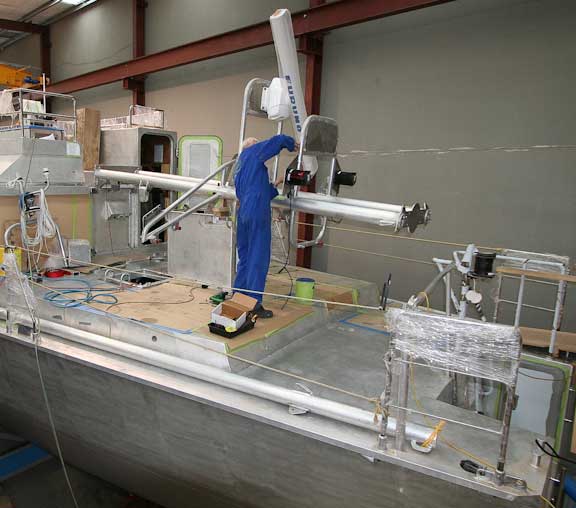
When you see the “sparky” (Kiwi speak for electrician) working on the outside lighting and electronics it is a sign launching is within six to eight weeks. This photo also demonstrates the advantage of a hinged mast (aside from vertical clearance). It makes maintenance and changing electronics easier.
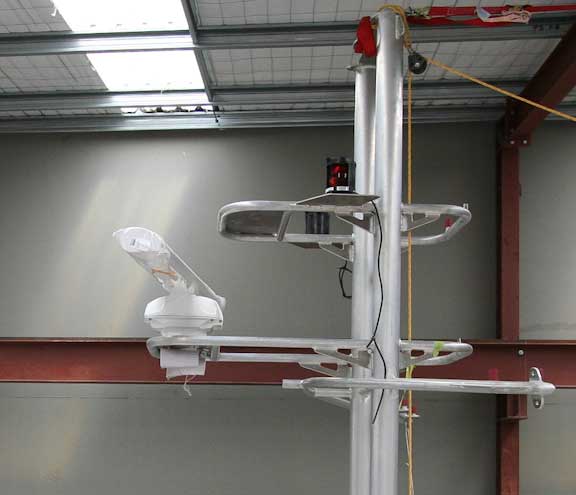
Center left, above, is the removable topmast which provides a base for the steaming light, anchor light, and wind sensor. This bolts to the upper platform between the two main masts.
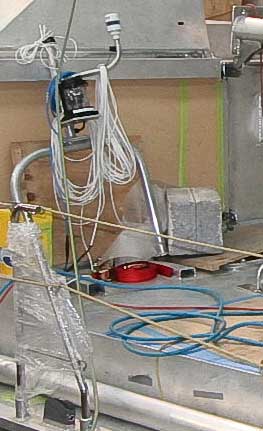
Radar scanner and running lights installed.
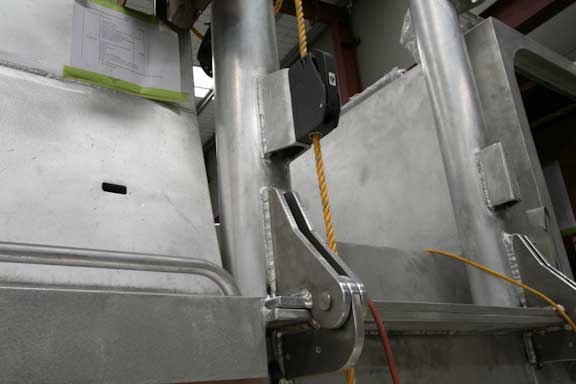
A close up of the mast hinge. Note the rope clutch for the dinghy halyard above the hinge.
Stainless steel rail work is now complete except for the steps to the flying bridge. Table handrails provide a convenient place to grab when walking around the flying bridge.
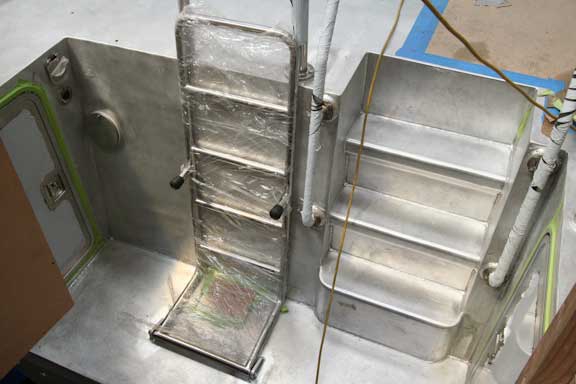
Speaking of stainless work, the swim step boarding ladder is shown above. Handrails to the swim step are wrapped in white tape to protect them.
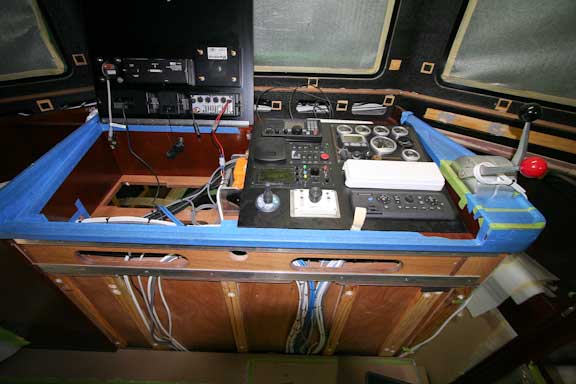
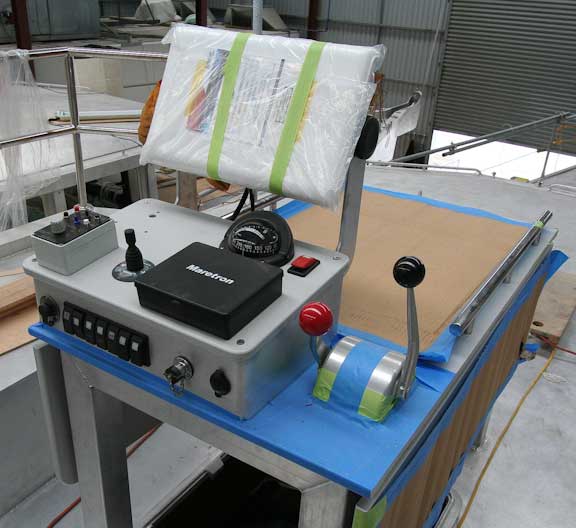
The inside bridge electronics are installed in hinged panels providing good access for building and for future projects.
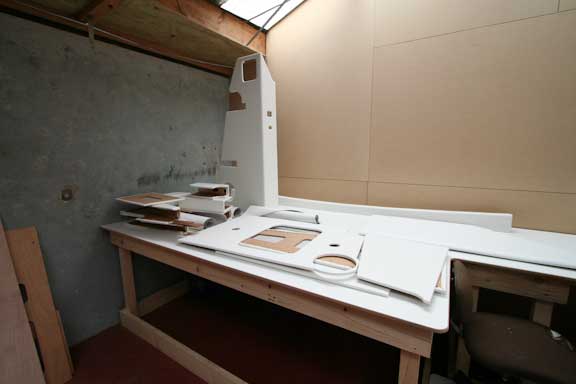
A final photo for today on the first FPB 64, this of some of the head and hull liner panels now upholstered. In a month or so, when we show you these panels installed, you will be amazed at the increase in visual space they create.
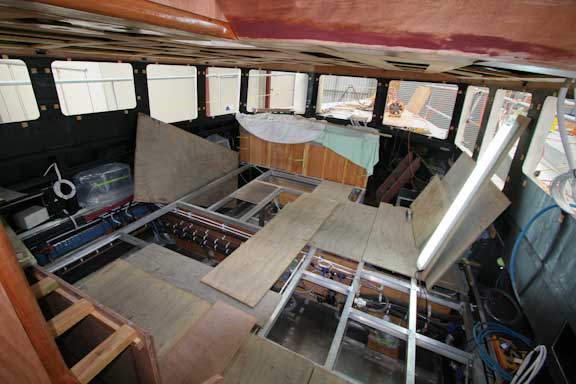
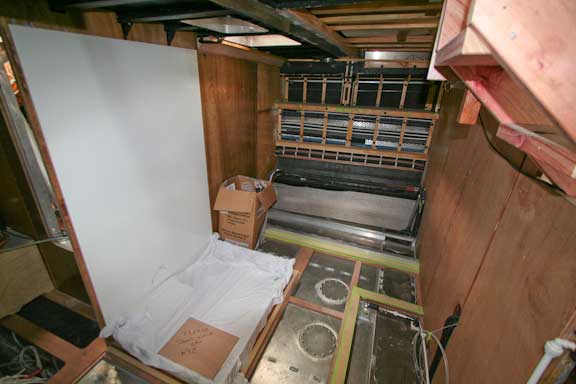
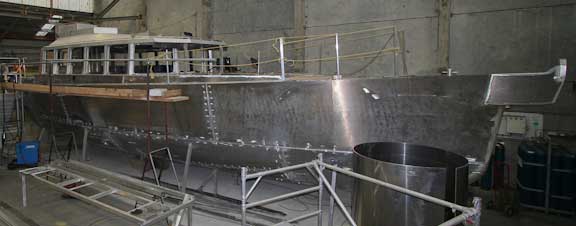
Speaking of visual space, this photo is of the second FPB 64. Basic systems and furniture infrastructure is now in place. Until the boat is afloat, and you can see sky and water out of the windows, it is hard to get a feel for the wonderful sense of spaciousness in the great room. But this is better than having the windows in place (and covered) as in the photos of the first boat we have been showing you.
Basic systems are now installed in the second boat. Here we are looking at the mid-basement bulkhead.
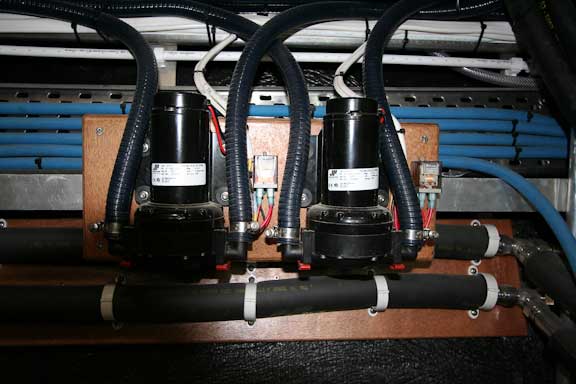
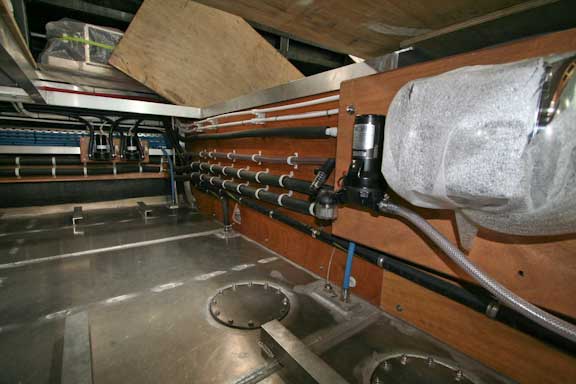
Each of the four air conditioners have individual circulating pumps for condenser cooling.
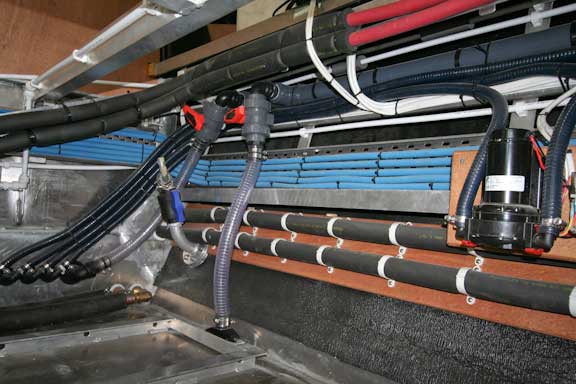
The large gray valve center left is for the basement damage control pump pick up.
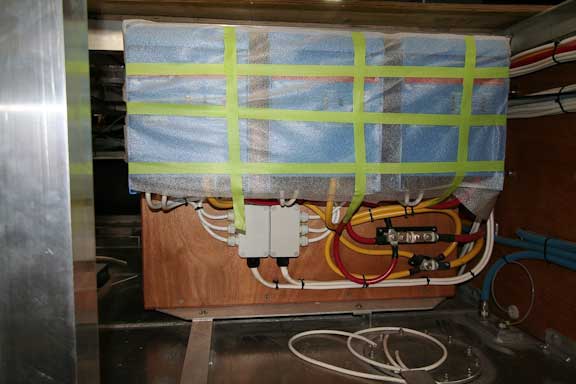
The three 230V inverter chargers are shown here (each is rated at 2500 watts). A fourth inverter for light loads is located on the opposite side of the panel.
A couple of photos now of the aft guest suite to give you a feel for the space. The white area to the left will become the head.
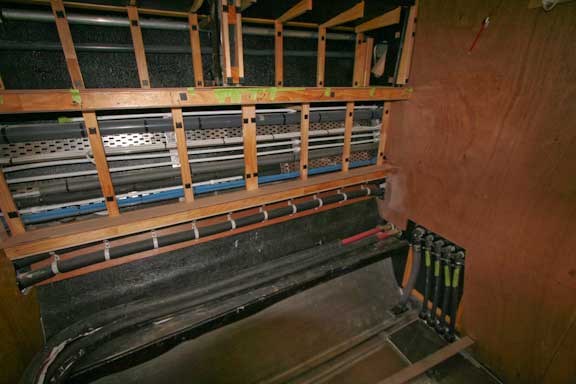
Still in the port guest cabin. Plumbing and wiring are easily accessed even when furniture is in place.
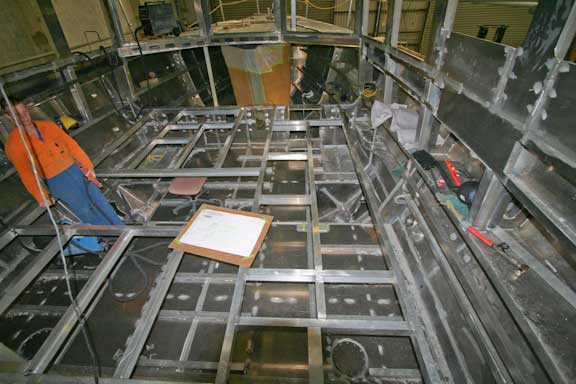
Switching now to FPB #3. The chap on the left is standing on the basement fuel tank tops. The gird surrounding him will support the great room furniture.
We don’t often get clean inside shots to show the appearance when a boat is under construction, but this one of the third boat comes close. Now, close your eyes and imagine crystal clear warm water, a gentle trade wind breeze, and a white sandy beach.
Posted by Steve Dashew (January 19, 2010)
January 19th, 2010 at 6:26 pm
It’s getting very exciting, watching this!
The owners must be VERY happy progress.
Do they need a deckie?