
The FPBs are designed with drying out in mind, and like all aspects of seamanship, we think testing the process in controlled circumstances before we actually need to use it makes sense. The following comments are based on a lifetime of avoiding experience with the subject at hand. But the old saying – it is not if you will run aground but when – is as true today as it was a couple of generations ago when we made our way without long range nav aids and few, if any, charts.
In the photos that follow you will see FPB 78-1 Cochise aground on the Mahurangi river in New Zealand, where she had been parked for a tidal cycle to test the procedures we had in mind for setting kedge and warping off and/or holding ourselves, so we would not drift into further danger.
We were on a rising cycle of ever higher tides four days before a full moon, so we were reasonably certain that the tidal cycle would help to float us off as the tide came in, as long as we were not drifting further aground with the tidal current or wind.
In this particular case, setting a kedge anchor to hold us in place was required in order to control the boat. Our main anchor is so heavy that it must have a big winch to handle it – at 325 pounds/180 kg this is not to be toyed with. So we do the following:
- We look for a place where we are out of the traffic with just a single hook with room to swing. If this is not available, second choice is simply running aground – under control of course – and stick the bottom and fins in the mud. In lighter winds and slack currents, this is often a good means of anchoring the boat.
To use a bow and stern anchor:
- Prepare the stern kedge anchor for launching from the swim platform by hanging it overboard from a halyard at the boom end above.
- With the flukes clear of obstructions, make sure the stern anchor rode, normally stored on a roll in the stern, is ready to go.
- We let out additional chain on the forward anchor, so Cochise drifts back to a position where there is sufficient scope for the stern aluminum Fortress (Danforth type) anchor to get a good set, as we winch the forward chain back in. We usually figure 7-1 scope on the aft anchor to begin. Seven to one is rarely more than a boat length.
- The chain windlass forward is then winched in until the aft anchor is firmly set.
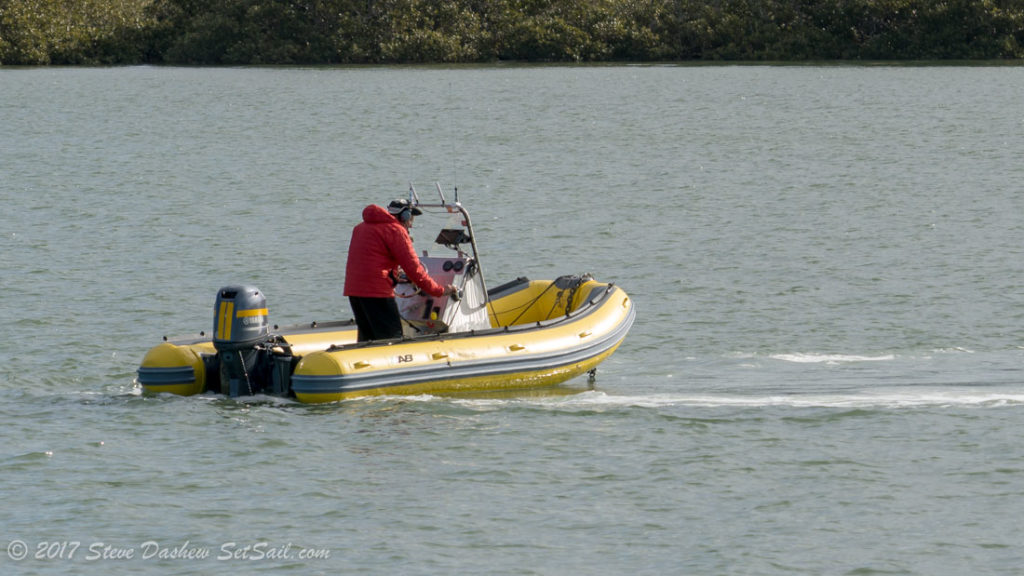
If we find ourselves unintentionally aground, the odds are we need to run the kedge out with the dinghy. In this case hopefully the dinghy will be protected from the sharp edges of the flukes. With a large dinghy and powerful outboard we tow the rode off the reel in reverse, dinghy bow towards the mothership. Our RIB steers better this way and the rode is kept clear of the dinghy running gear. If you are rowing the rode out, or using a small outboard, you may need to flake the rode into the dinghy to avoid the drag of pulling it off of the reel and through the water.
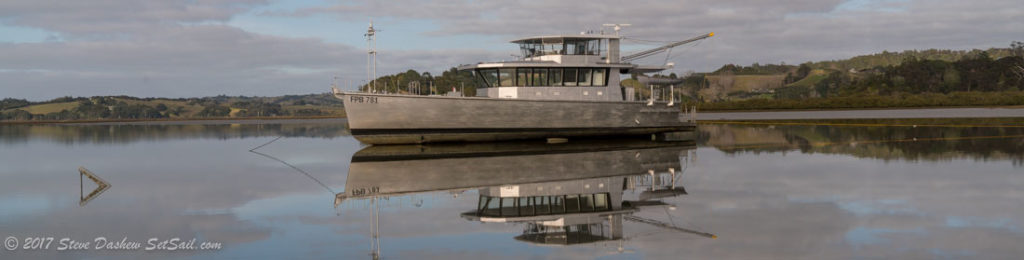
You can see the anchor fluke sticking out of the mud in the foreground and kedge off the stern – the yellow line – off to the right.
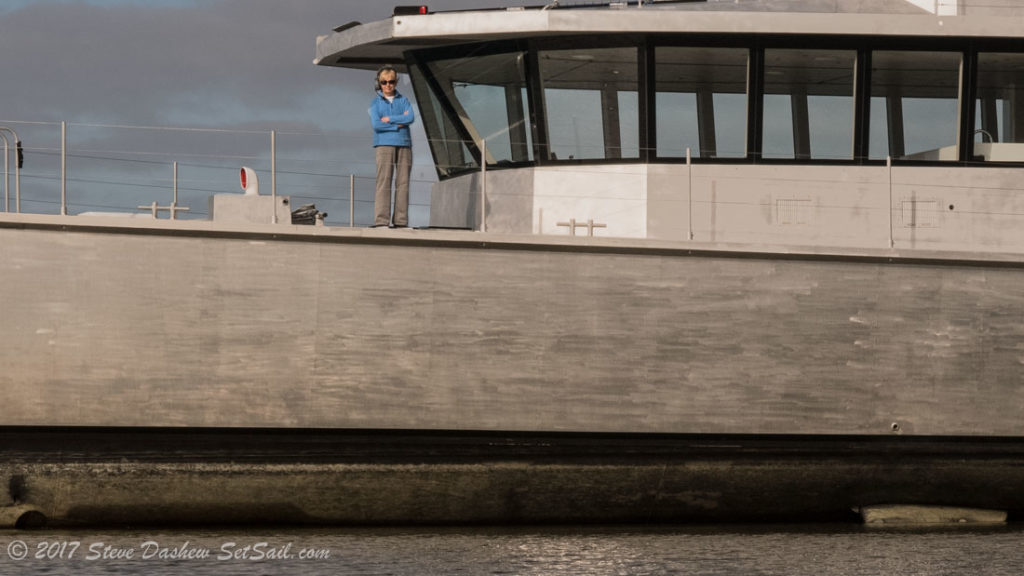
Linda is wearing a headset (AKA the Wankaphone) so we can communicate easily at a distance. The folded arms and countenance indicate her opinion of this particular test. It is something I have seen before when your correspondent ignored her suggestion not to>>>fill in the blank <<<< and we ended up running out a kedge in earnest.
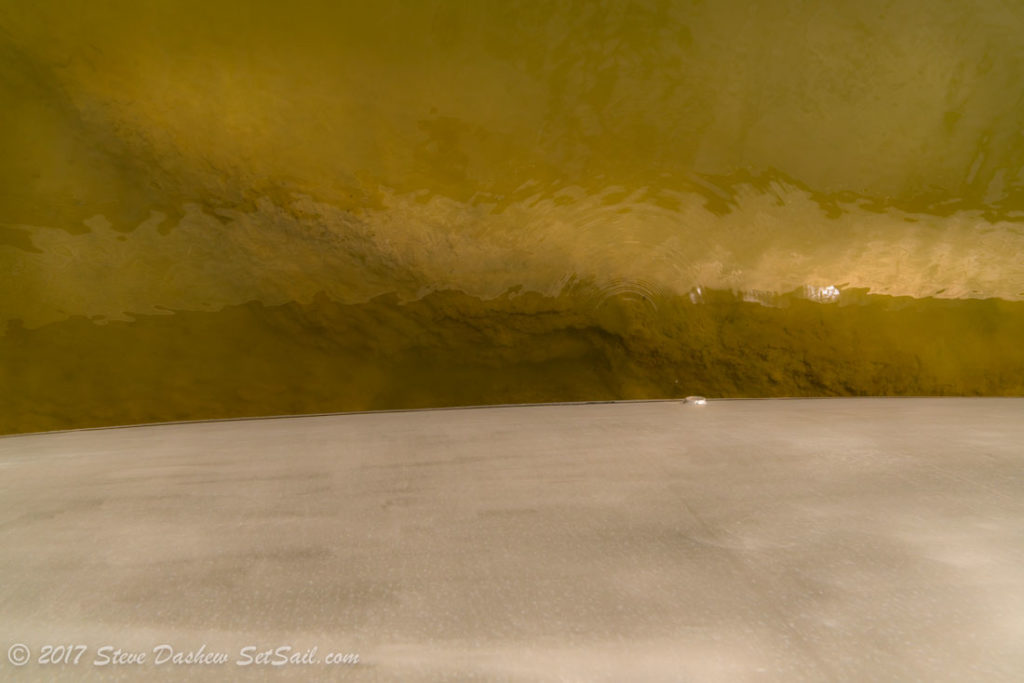
We are in soft mud here, and looking down about 14 feet aft of the bow.
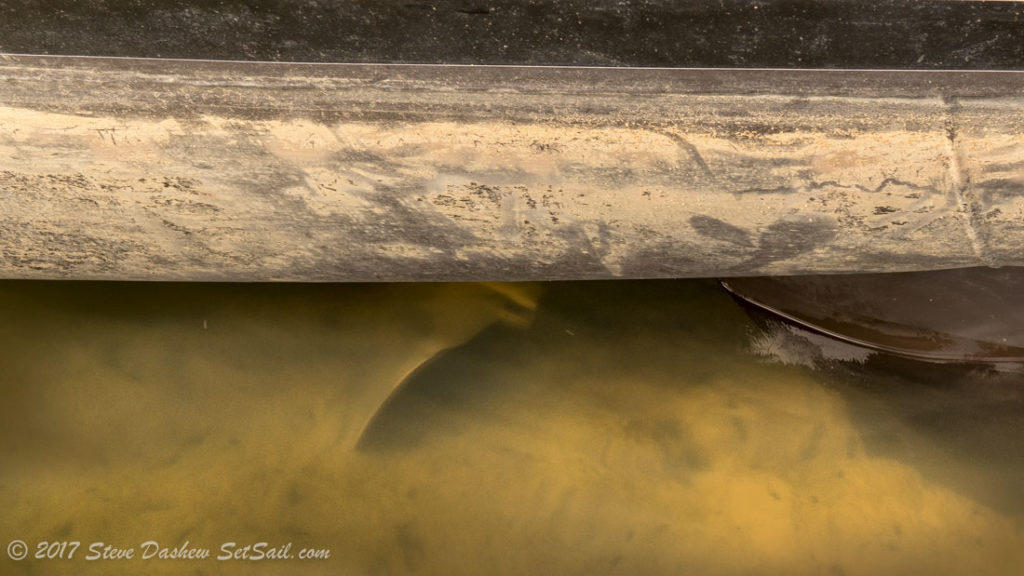
The prop, prop skeg, and rudder are deeply buried. We are not going anywhere for a while!
The next morning, with the tide filling in, we start the kedge retrieval process. Breaking the Fortress free from a deeply buried position takes a while, and lots of dinghy horsepower. That is a 60HP Yamaha in the photo above. The chain on the end of the rode had been tied short to the bow, so the pull is close to vertical.
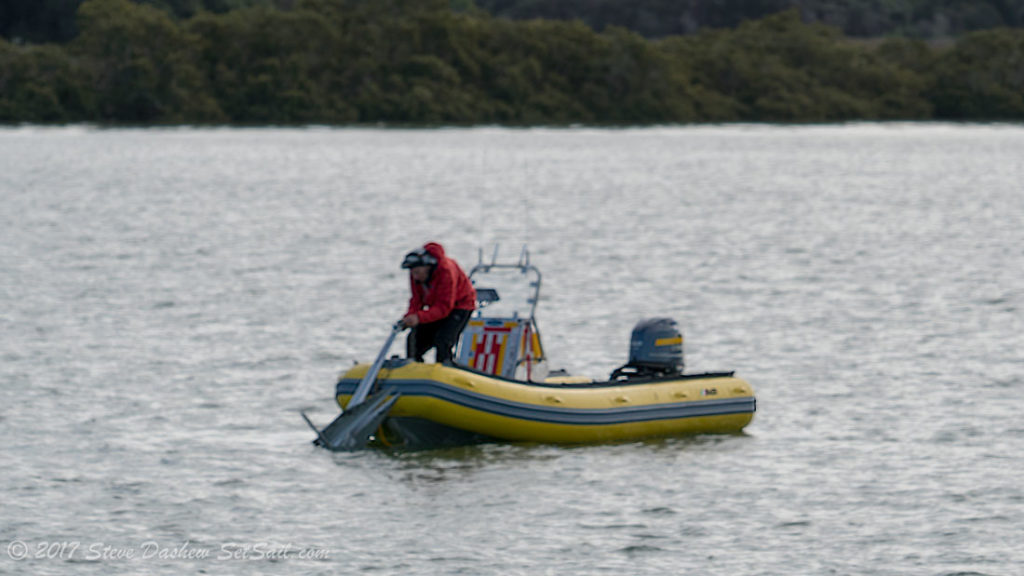
The hardest part of this process is actually bringing the anchor into the dinghy. We have since made a bib to tie over the bow which protects the RIB tubes from the anchor.
In a more protected location, say the side of the Intercoastal Waterway, we will have a lot less scope on the kedge. In this case, rather than retrieve with the dinghy we ease back on the forward chain rode so we can lift onto the stern, using the kedging winch on the aft deck for the hard work.
We should point out that we spent some time this fall parking the boat across from Jarrette Bay where she is now hauled out. The bottom there is much firmer than the Mahurangi River, and as we were hauling out in a few days’ time, we were curious to see if we could do a little damage to the bottom paint.
With the current running at a couple of knots, we set the main anchor at a ten-to-one scope just for room to play with, and then ended up driving the boat hard onto the bank. After a couple of tries we had the technique down where she would stay put. As the tide was falling we were there for six hours until it began to lift us sufficiently that we could drag ourselves off with the big windlass forward.
For lots more on anchors and anchoring, download free copies of Practical Seamanship and Offshore Cruising Encyclopedia here.
Posted by Steve Dashew (January 3, 2018)
January 4th, 2018 at 11:54 am
Hopefully your raw water pump was self priming.
I tried drying out this summer while single-handed. not realizing after I was floated the raw water pump was dry. Starting the engine resulted in shredding the impeller and soon overheated. Having no audible overheat alarm on the flybridge I was unaware of the problem for some time. Once aware of significant smoke from the exhaust, I idled the engine in neutral to keep fluids moving, pulled the Dink along side and “tugged” SARAH SARAH to the nearest anchorage. Removing all the fins was quite a chore having driven pits of impeller throughout the cooling system.
In retrospect I should have bled the raw water pump before starting the engine!
January 16th, 2018 at 2:52 pm
Hi Bill:
An excellent lesson and thanks for passing it along! Starting with the FPB 78s there isa wet loop ahead of the raw water pump so a dry start should not be a problem. There are also three thermocouples which trigger the Maretron N2k system in the event of a warm exhaust system. These are placed on the face of the raw water pump, on the injection elbow, and the hot spot of the aqua-lift. We have found the faceplate temperature will show when an impeller begins to tear with a small increase in temperature.
January 4th, 2018 at 2:29 pm
Can the 64’s dry out also, or only the larger twin engin FPB’s?
January 16th, 2018 at 2:45 pm
Hi Jeff:
All the FPBs are designed to dry out.
January 4th, 2018 at 2:48 pm
Can the FPB64 “air out” or only the larger twin models?
January 16th, 2018 at 2:44 pm
Hi Jeff:
Not sure I understand the question. Please try again.
Steve