
We’ve got a lot of photos to share in this update, starting with the now installed bridge electrical panel. Our philosophy has always been that we want the hidden stuff to look as good as that which is exposed. It costs a little bit more, but the pleasure knowing that things are done right, and look good, even when out of sight, is well worth the cost to us. This gives us more of a buzz than the front side.

We’ve previously discussed this panel (AC above, local DC below) so we won’t do more now than to admit we like the way it looks.
For the next series of photos a drum roll would be appropriate.
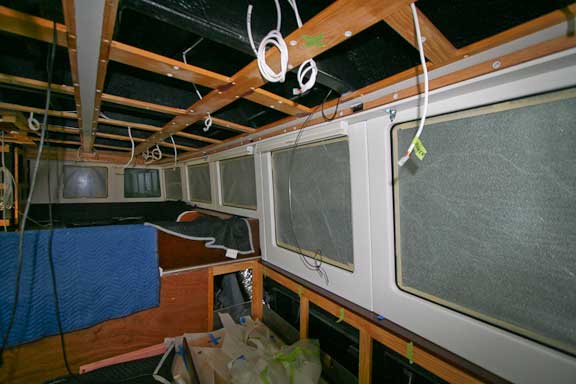
Wall coverings are now in place. We are looking aft here into the starboard crew cabin. The door on the right is into the engine room.

Swapping views here, from the aft end looking forward. The back side of the main DC panel is on the bulkhead. We’ve been using these tough textured vinyl wall coverings since 1978. They look great, wear well, and are easy to maintain.
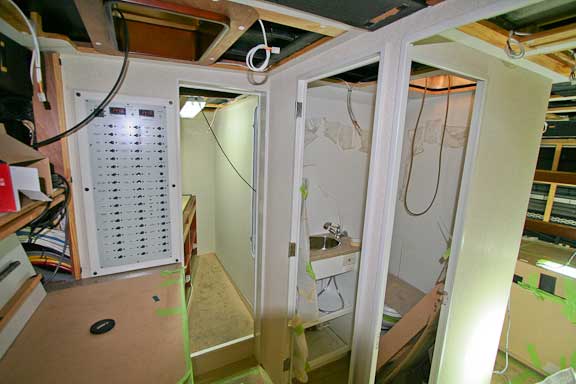
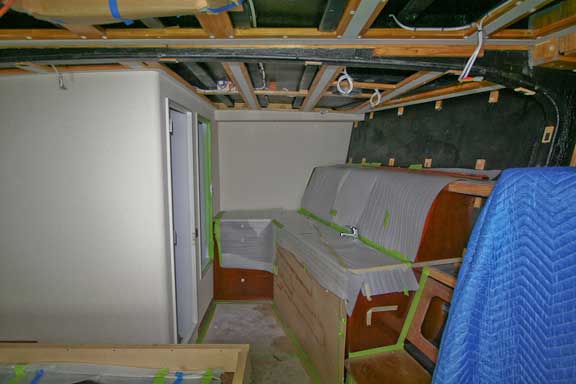
From the foot of the stairs in the office looking aft. You can see into the starboard cabin, aft head, with the doorway into the port guest suite on the right of the photo.
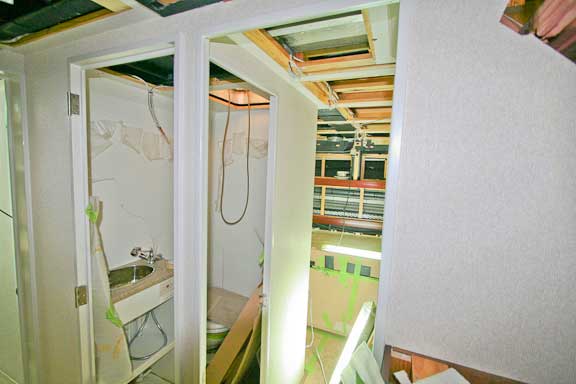
Swinging the camera now towards the entry into the port cabin.

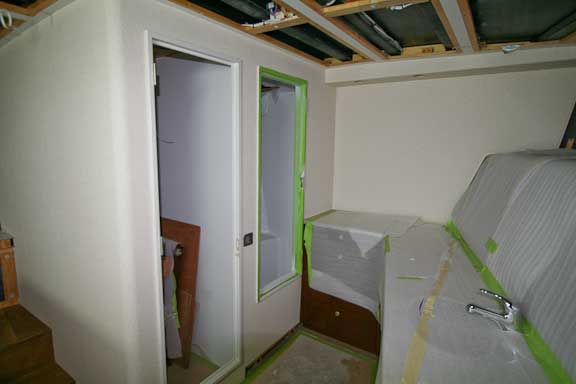
Inside the port cabin, with the camera at the forward end of the bunk. The large (four foot/1.2m) hanging locker is on the left.
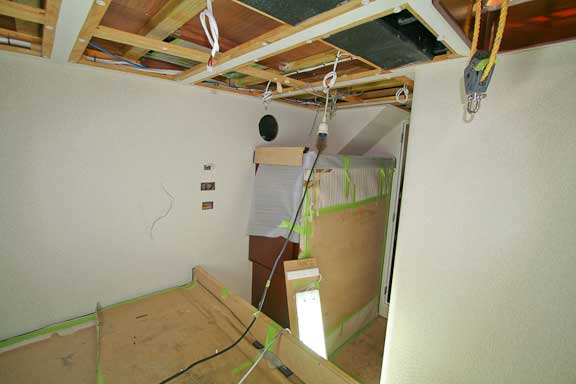
From the aft end of the bunk looking forward. Once art work, hull, and headliners are installed this cabin will expand substantially.
We are in the great room now. The window frames are upholstered with Ultraleather. In another three or four weeks we will be showing you this area with the windows open to the view!
And a couple of photos of the forward suite. The head and tub/shower in on the left side of the boat.
The camera is now centered in the cabin and looking to port.
Now for the outside.
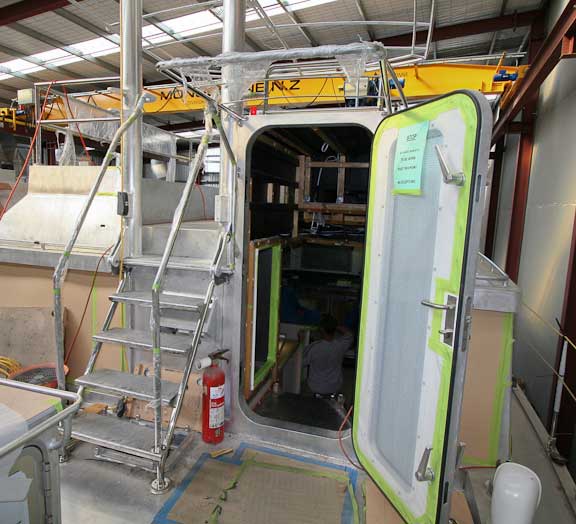
One of the more complex stainless steel fabrication areas takes place with the stairway to the flying bridge and the associated handrails (now installed in the photo above). There are a number of different design considerations at work.
To begin with, you need security when transiting up or down the stairs. This is provided by the handrails and the non-skid tread on the stairs.
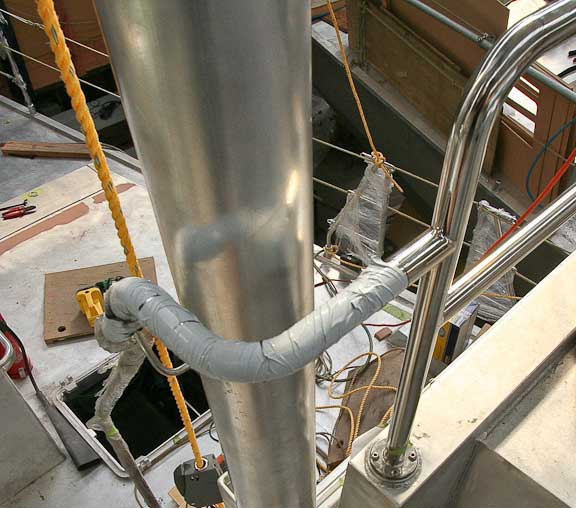
As you walk on or off the flying bridge you want at least one hand in contact with a rail at all times. Note how the stair rail transitions around the mast and dies on the flying bridge wind screen rail.
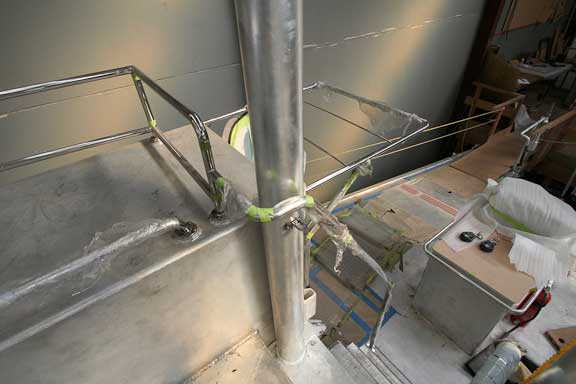
The “scuttle” structure (above the entry door) provides a place to brace yourself against, and there is a handrail along its edge as well.
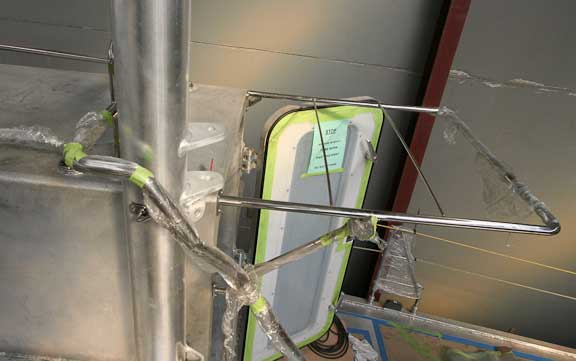
Looking here at the starboard side rail and the frame for the entry door rain awning. Note the curved spreader bars on the frame (the upward thrust helps prevent the awning fabric from collecting rain water).
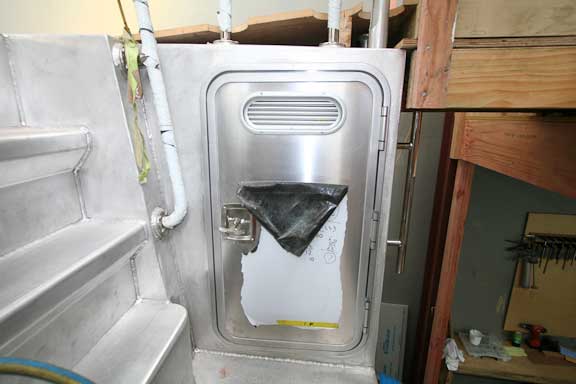
There are two large storage lockers one either side of the swim platform. The starboard side is where outboard fuel lives. The port, will be used for items like dive gear and dinghy equipment. Note the vertical handrail on the corner of the transom. This is designed to assist getting out of the dinghy (there is a rail on each side).
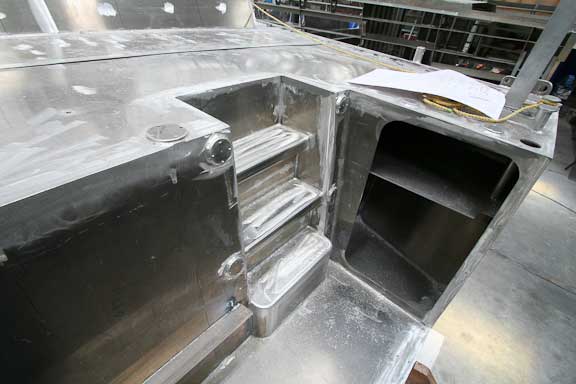
Here’s a look at the swim step and storage locker on FPB 64 number three. There is enough room for 80 liters (or more) of outboard gas stored in “Jerry Jugs”. The round pads on deck and the transom are for attachment of railings.
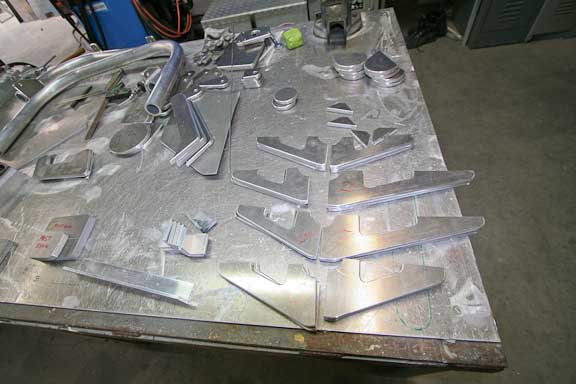
Bits for the mast assemblies on boats three and four. It is the ability of Circa to produce these parts (and other items) for multiple boats at once that is a key to delivering a high quality specification at such an efficient price. If you were to work to the same standard as a one off build the cost would be close to twice what the series built FPB 64 goes for.
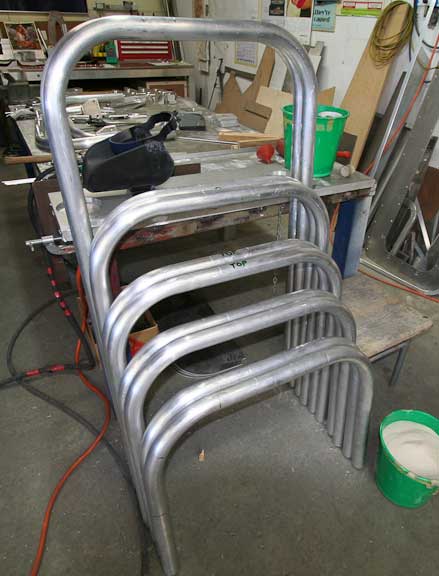
More mast pieces for three and four, this time the radar and antenna platforms.
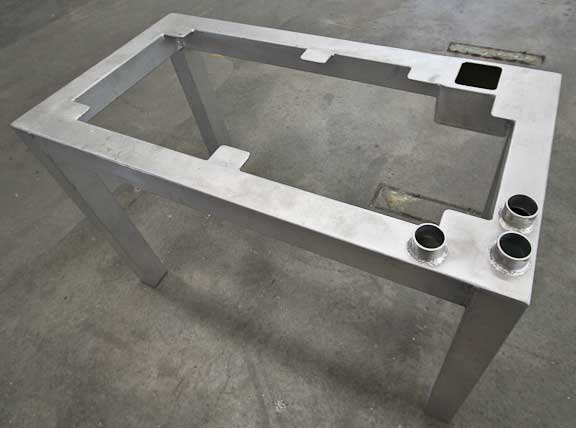
The flying bridge table base for number four. The pipes in the left corner are for wiring to transition into the frame and eventually into the interior.
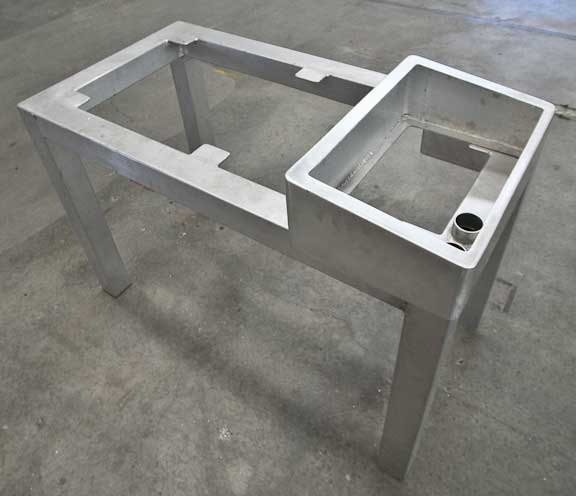
The table framework now with the instrument pod base attached.
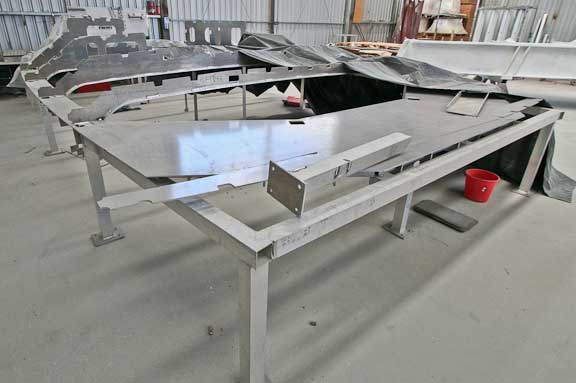
Speaking of production, Circa has jigged up many of the complex metal structures to help with dimensional consistency and efficiency. The photo above is of the beginning of the house for FPB 64 number four.
A final note on this update. Todd and Steve have reservations to head to New Zealand the middle of March for sea trials. We are getting close.
Posted by Steve Dashew (February 7, 2010)
February 7th, 2010 at 7:21 pm
why do you use s/s for the stairway and hand rails – why not stay with the alloy and not have the problems associated with dissimilar metals and the cost of s/s?
February 7th, 2010 at 10:15 pm
Howdy Marcus:
We could indeed use aluminum rails. However, the stainless provides a nice aesthetic counter to the bare aluminum exterior. As far as different metals goes, this is dealt with (see previous posts) with isolation.
February 11th, 2010 at 1:00 am
attention to detail and how issues are deal with is impressive. A design made to cruise.
What is going on with the swim platform. stb locker door? Thats a hole? Somebody got locked inside?
(also had same question as Marcus.)
Thanks Steve for sharing lot of unique information
Carlos
February 11th, 2010 at 10:09 am
Hi Carlos:
We are required by various regulations to provide inlets and outlets of specific volume if there are to be flammable materials stored in the starboard locker. Both transom lockers are sealed from the interior. The negative with these vents is they will pull in a bit of engine exhaust, especially when heading into the wind. This means a wipe down ofo the stored items a couple of time a year.
February 17th, 2010 at 9:32 am
Hi Steve
Been following your exploits for years. The textured vinyl finishes – are they mounted on separate panels or glued directly to the bulkheads etc.
We begin fitting out a 50′ cat HDB soon and I don’t like the textured paint they use at present. The vinyl looks interesting, but I don’t really want to add too many extra panels.
Thanks for the inspiration
Best
Graham
February 17th, 2010 at 9:56 am
Hi Graham:
The vinyl is glued directly to the bulkheads. No extra panels.